
Hello again!
I told you I was going to do the living room before and after, and wouldn't ya know, I didn't take pictures from the correct angles. I didn't even get one of the whole room! So I'm going to take more pictures this weekend and get that post to you next week! Instead, I'm going to show you a project from this past weekend: revamping the bedside table I got from the thrift store!
Here he is still in the thrift store, obviously in need of a little love.

He looked much better in natural light, eh? Notice anything off with the piece?

The front legs didn't match! I was a bit sad about it.. until I noticed whoever put this beauty together switched the front and back legs! See the matching one on the back right??

Legs fixed! Woo!

Just to prove it.. $15!!

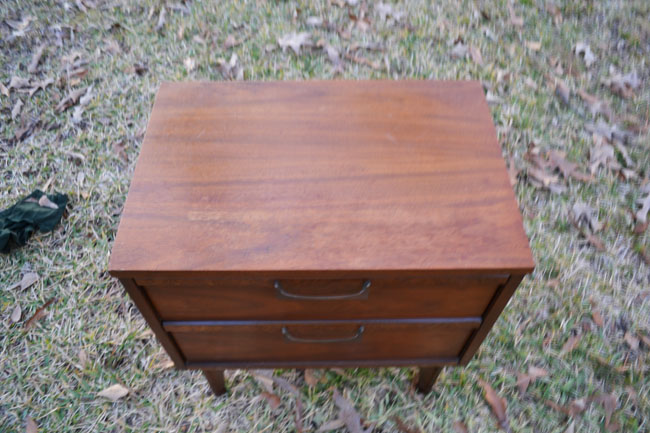
The top is a scratched. Eek!

Here's my usual picture with all the projects I'm working on in the front yard.. haha.

I read about this stuff on another blog. They didn't use this brand, but it was all I could find at Home Depot. It's wood refurbishing oil, and there's no need to sand and stain! You just rub it on with a cloth, and then rub it off with a dry cloth. HOW EASY!

I pulled out the drawers and removed the hardware. I cut up an old tshirt to make a cloth, because I thought paper towels would not work well.

Then I just let it dry in the yard for a while.

Here it is all put back together! Sorry for the fuzziness, I'm still figuring out the new camera..

See how much better the top looks!
How beautiful!

I'm in looooove! Now I've got to find a similar one to go on the other side of my bed. I've got a big bedroom makeover in the works!!

EEEE!
i used that same stuff on our $40 craiglist dining table. love it! there some orange wax sealer stuff they recommend using with it to seal it in.
ReplyDeleteyour bedside table looks great!